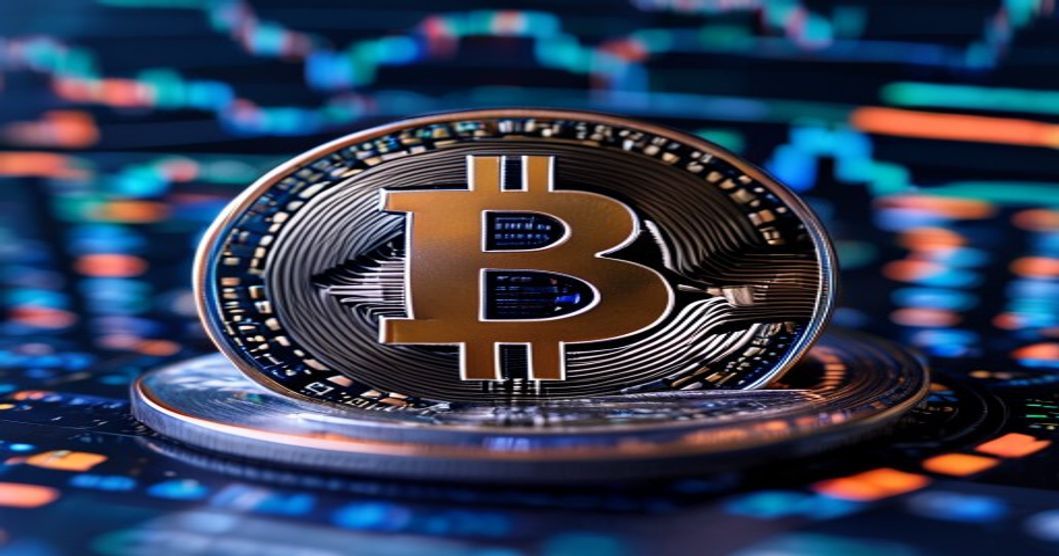
How to Use a VPN for Crypto Trading — Safe Setup Guide
You’re about to make a trade. The market’s moving fast. Your connection drops. You refresh and see the price has already run without you. Or worse — you wonder if someone’s watching your traffic.
That’s where a VPN comes in. But using a VPN for crypto trading isn’t as simple as flipping a switch. Do it wrong and you could get your exchange account locked, your IP flagged, or your privacy compromised. Do it right, and you get a secure, unrestricted trading experience anywhere in the world.
This walkthrough covers exactly how to set up and use a VPN for crypto trading — safely, without getting banned.
Who This Is For
This guide is for active crypto traders who want to protect their connection from ISP throttling, geo-restrictions, or surveillance, but need to avoid common mistakes that trigger exchange security flags.
What You’ll Need
- A reliable paid VPN service — free VPNs are a security risk and often blocked by exchanges
- At least one active account on a centralized exchange (Binance, Coinbase, Kraken, etc.)
- A secondary device or browser for testing your setup before trading real funds
- Two-factor authentication (2FA) enabled on your exchange account — non-negotiable
- Basic understanding of how your exchange handles IP changes (check their terms)
Step 1: Choose a VPN That Works With Your Exchange
Not all VPNs play nice with crypto exchanges. Many use shared IPs that exchange security systems flag as suspicious. And some VPN providers log your data — exactly what you’re trying to avoid.
Look for three things. First, a strict no-logs policy verified by independent audits. Second, dedicated IP options — these cost extra but dramatically reduce flagging risks. Third, obfuscation servers that mask your VPN traffic as regular HTTPS traffic.
We’ve seen traders get their accounts frozen just for logging in from a known VPN IP range. That’s not paranoia — it’s how exchanges prevent fraud. A quality VPN like Mullvad or ProtonVPN offers obfuscation. Some traders even run their own WireGuard server on a VPS for total control.

Budget $5-15 per month. Anything free is either selling your data or has a tiny IP pool that exchanges have already blacklisted. Don’t risk your portfolio to save a few bucks.
Step 2: Set Up Your VPN Connection With Consistency in Mind
This is where most people mess up. They connect to a random server in a different country every time they trade. Then they wonder why the exchange asks for ID verification again.
Exchanges track your IP address. If you log in from Germany at 9 AM and Singapore at 9:10 AM, the system assumes your account is compromised. That triggers automatic withdrawal locks and manual review delays.
Here’s the fix: pick one server location and stick with it. Ideally, choose a server in the same country as your exchange account’s registered address. If you’re a US resident trading on Kraken, connect to a US server. If you’re using a VPN to access a geo-restricted exchange, choose a server in that exchange’s allowed country — and never change it while logged in.
Enable the “kill switch” feature in your VPN settings. This cuts your internet if the VPN drops, preventing your real IP from leaking during a trade. Test this by disconnecting the VPN while your browser is open — your connection should die immediately.
And for the love of crypto, enable 2FA on your exchange before you even open the VPN. If your VPN leaks your IP and someone grabs your session token, 2FA is your last line of defense.
Step 3: Test Your Setup Before Trading Real Money
Never jump straight into a trade with a new VPN configuration. Test everything first with a small amount — like $10 worth of a stablecoin.
Open your exchange in a private browser window. Connect your VPN. Log in. Check that the exchange shows your expected location (many display this in the security settings). Make a small test trade. Check that the order executes without delays. Then log out, disconnect the VPN, and log back in without it. Your account should remain accessible.
This test confirms three things: your VPN doesn’t trigger security flags, your kill switch works, and your account doesn’t get locked for “suspicious activity.” If anything goes wrong during the test, fix it before you trade anything meaningful.
Some exchanges require you to whitelist withdrawal addresses 24-48 hours in advance. If your VPN changes your IP, that whitelist might not apply. Withdraw a tiny test amount first — we’ve seen traders lose access to funds for days because they skipped this step.
Step 4: Maintain Your VPN Security While Trading
You’re set up. You’ve tested everything. Now you need to keep it safe while you trade.
Never stay logged into your exchange while the VPN is disconnected. If the kill switch fails and your real IP leaks, someone could hijack your session. Log out after every trading session. Clear your browser cookies. Close the browser entirely before disconnecting the VPN.
Watch for DNS leaks. Your VPN might hide your IP but still send DNS queries through your ISP. Use a tool like dnsleaktest.com while connected to your VPN. If you see your ISP’s DNS servers, your setup is compromised.
And here’s a pro tip: use a dedicated browser profile just for crypto trading with your VPN. Firefox or Brave with strict privacy settings. No other tabs open. No extensions except password manager and ad blocker. This isolates your trading activity from everything else you do online.
If you’re trading on a mobile device, the same rules apply. Use a dedicated VPN app. Don’t switch between WiFi and mobile data while trading — that changes your IP mid-session and triggers exchange alerts.
So what happens if your exchange still flags your account? Don’t panic. Contact support, explain you use a VPN for security, and provide your static IP if you have one. Most exchanges will whitelist your IP if you can verify your identity.
Common Pitfalls
⚠️ Mistake: Using a free VPN
Free VPNs have tiny IP pools that exchanges blacklist. They also commonly log your traffic and sell it to advertisers. You’re trading crypto — your privacy is worth $5-15 a month. Fix: pay for a reputable no-logs VPN with obfuscation.
⚠️ Mistake: Changing VPN servers while logged into your exchange
This looks exactly like a hijacking attempt. The exchange sees your IP jump from New York to Tokyo in seconds and freezes your account. Fix: pick one server location and never switch it while your exchange session is active.
⚠️ Mistake: Not testing DNS leaks
Your VPN might hide your IP but leak your DNS queries through your ISP. This reveals your browsing activity and defeats the purpose of using a VPN. Fix: run a DNS leak test before every trading session. If leaks appear, switch to a different VPN protocol (WireGuard over OpenVPN).
What Next?
Once your VPN is set up and tested, consider pairing it with a hardware wallet for cold storage and a dedicated trading device that never connects to public WiFi.